Window tint can be a great way to keep your car cool and protect your privacy, but over time it can become faded, bubbled, or simply outdated. If you’re ready to remove your car’s window tint, there are a few simple steps you can follow to do it safely and effectively.
Gather the necessary tools
Before you begin removing your car’s window tint, make sure you have all the necessary tools on hand. You will need a spray bottle filled with soapy water, a razor blade or scraper, a heat gun or hair dryer, and a clean cloth or paper towels. It’s also a good idea to wear gloves to protect your hands from any sharp edges or adhesive residue. Once you have everything you need, you’re ready to start removing the tint.

Heat the tint with a hairdryer or heat gun
The first step in removing car window tint is to heat it up with a hairdryer or heat gun. This will help loosen the adhesive and make it easier to peel off. Hold the heat source about 2-3 inches away from the tint and move it back and forth over the area for a few minutes. Be careful not to overheat the tint or the window, as this can cause damage.

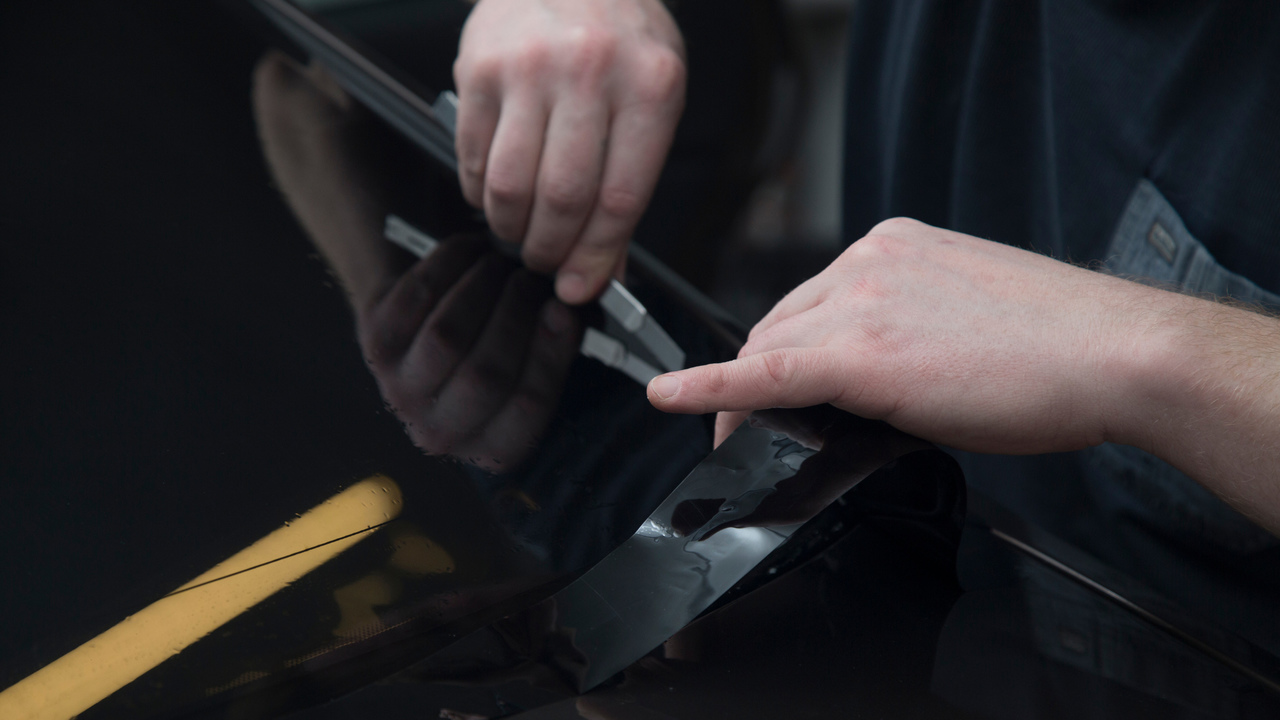
Peel off the tint slowly and carefully
Once the tint is heated up and the adhesive is loosened, it’s time to start peeling it off. Start at one corner and use a razor blade or scraper to lift the edge of the tint. Slowly and carefully peel the tint off the window, using the scraper to help lift any stubborn spots. Be sure to peel the tint off in one piece if possible, as this will make cleanup easier. If the tint is particularly stubborn, you may need to repeat the heating process or use a stronger adhesive remover.

Remove any adhesive residue with a solution of soap and water or ammonia.
After you have successfully removed the tint from your car window, you may notice some adhesive residue left behind. To remove this residue, mix a solution of warm water and dish soap or ammonia. Apply the solution to the window and use a clean cloth to scrub away the adhesive residue. Be sure to rinse the window thoroughly with clean water and dry it with a clean towel. Avoid using harsh chemicals or abrasive materials that could damage the window or surrounding surfaces.

Clean the windows
Your car windows should be free of tint and any adhesive residue. Take a moment to admire your clear view and enjoy the benefits of having clean, unobstructed windows.

Dry the window and enjoy your new, clear view
Finally, use a dry and clean cloth to dry the window. Be sure to remove any moisture or water spots from the window to avoid leaving streaks or spots. Remember to always use caution when removing car window tint and to avoid any harsh chemicals or abrasive materials that could cause damage.

Conclusion
Removing car window tint can be a frustrating and time-consuming task, but by following these five easy steps, you can get the job done without damaging your car. By using the right tools, taking your time, and being patient, you can remove the tint from your car’s windows and restore them to their original condition. Remember to use caution when using a heat gun or razor blade, as these tools can be dangerous if not handled properly. If you’re not comfortable removing car window tint yourself, consider seeking the help of a professional window tinting service to ensure the job is done safely and effectively.